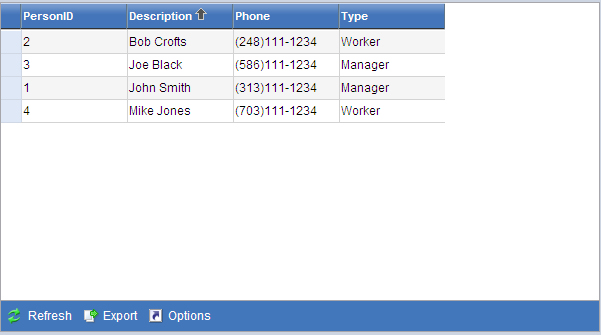
Using the New World ERP Grid
Below is additional information on using the numerous features available in the new New World ERP grid. Click a link in the list below for more information on using that feature:
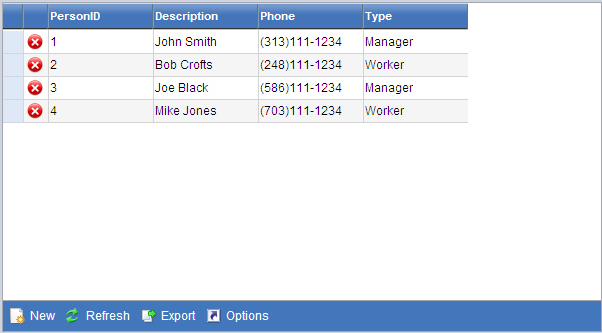
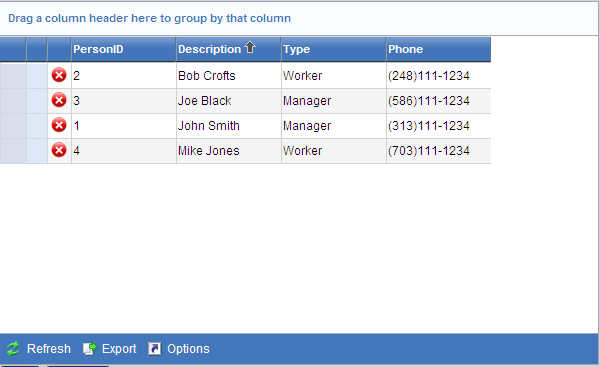
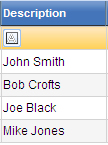
Sorting Data in a Column
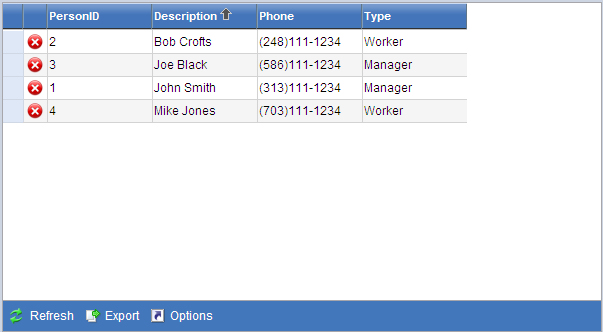
Each time you save a grid, the sort order remains as is until you edit the grid and save again.
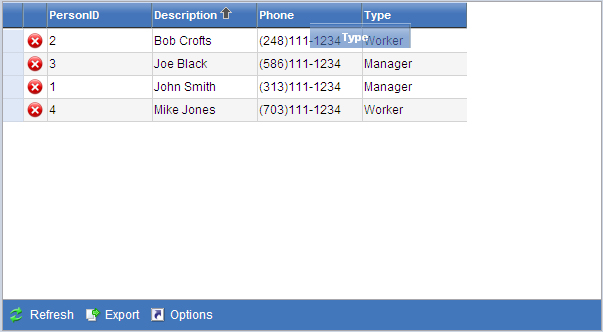
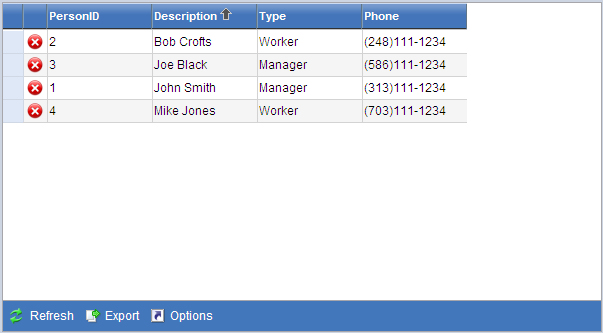
Moving Columns
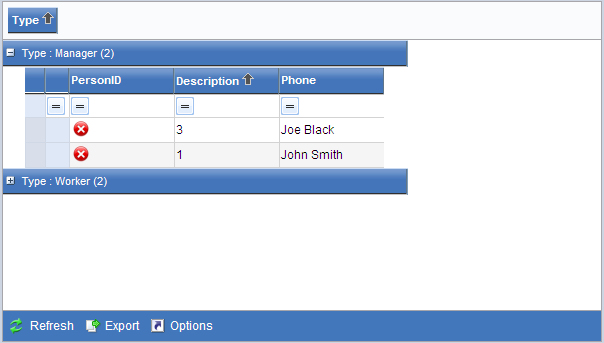
Deleting Rows
There are several ways you can delete a row within the new grid style. Listed below are just three of the more common methods.
- One way to delete a row from the grid is to click the red-and-white X button that corresponds with the row to be deleted.
 Show me:
- You can also click Delete on the menu bar below the grid after selecting an item in a row of the grid. You are then prompted to confirm the deletion. Show me:

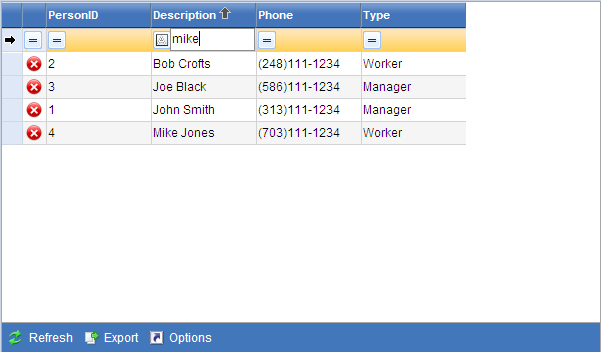
- To delete an entry row in the grid, click the User (
 ) icon in the header of the last column on the right. Show me:
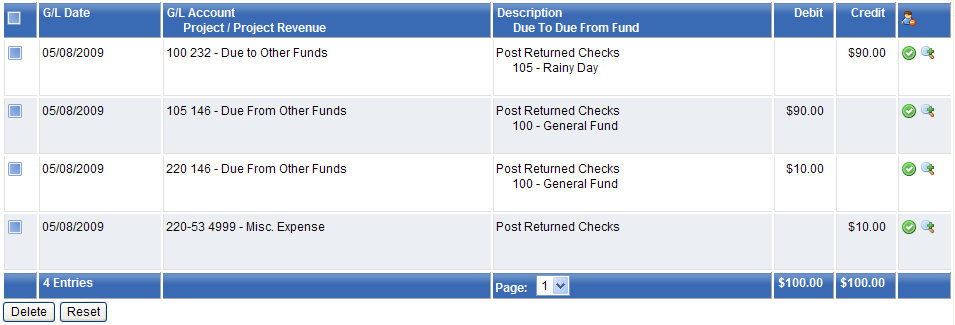
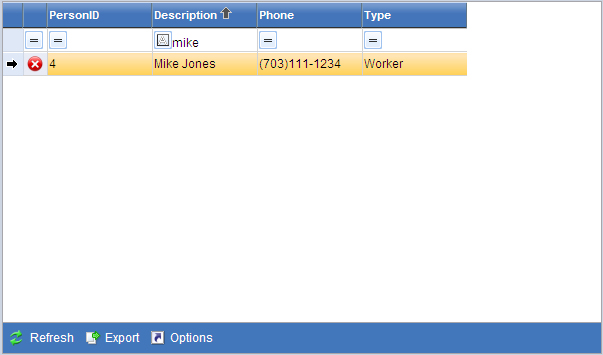
A check box displays in the first column on the left, next to the entries listed as shown above. Select the check box next to the single entry or multiple entries you want to delete and click Delete. Click the User (
Adding Rows

A blank row is inserted at the bottom of the grid. Double-click in a cell to enable it for data entry. Type data directly into the cell. As you continue to enter data, you can double-click each new cell or press <Tab> to move from cell to cell. Pressing <Tab> automatically enables the next cell for entry.
Adding/Editing Data in the Grid
Some grids, like those in Journals and Payment Processing, allow you to enter data within the grid a spreadsheet format.
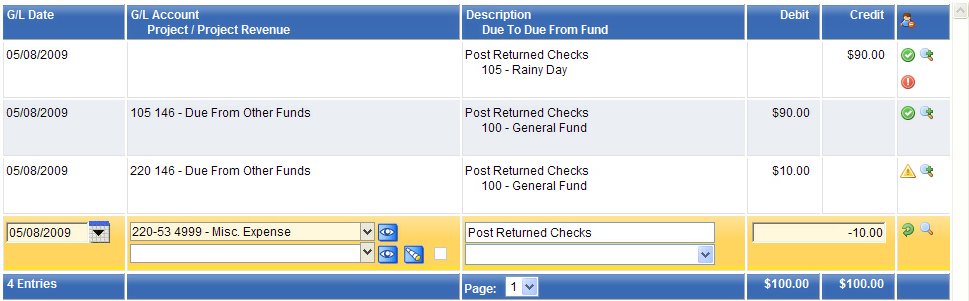
TIPS
- To enter a Credit amount in the grid, type a minus sign (–) before the value. A positive value entered appears in the Debit column.
- Data is saved in a row or field when you press Enter or press <Tab> to go to the next field.
Enabling/Disabling Columns
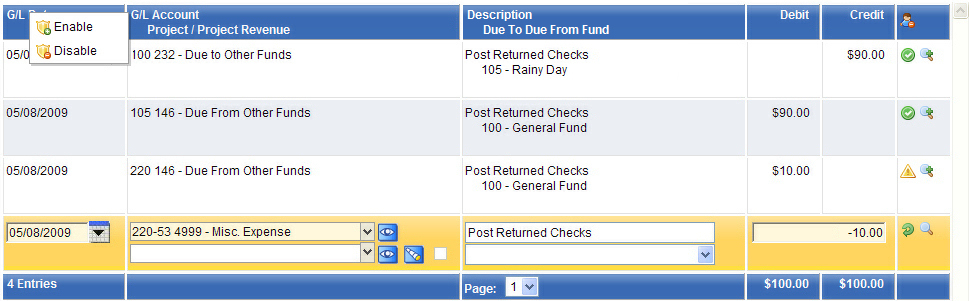
To disable a column, move the pointer to rest on the column heading until the icon changes to the image of the pointing hand. Right-click on the column heading and select Disable; conversely to display it when it is disabled, right-click and select Enable.
Refreshing the Grid

Exporting Data from the Grid
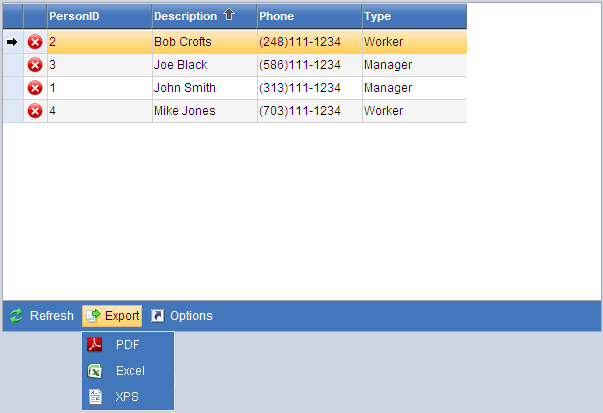
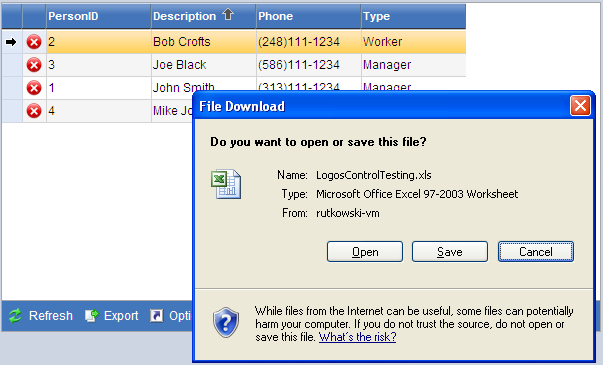
To open the file in the selected format, click Open. To save it to a particular directory, click Save. To cancel and close the pop-up without viewing or saving the file, click Cancel.
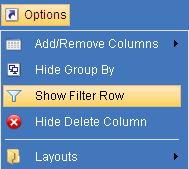
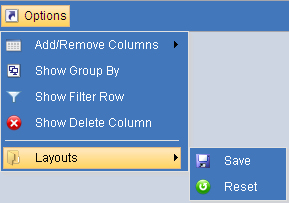
Hiding, Grouping, Filtering and More Options
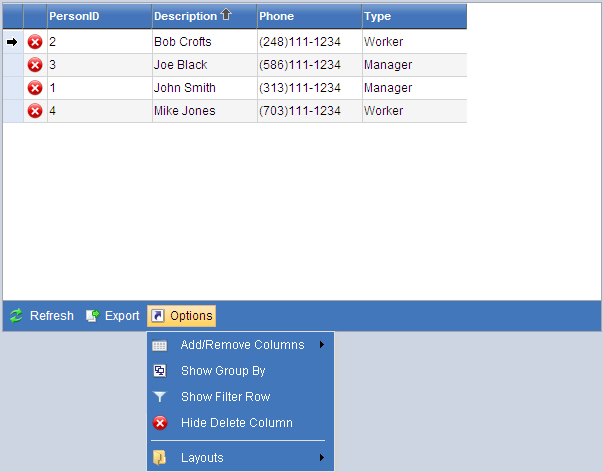
Each option from this menu is described below. Click on a title to expand the section for more information.
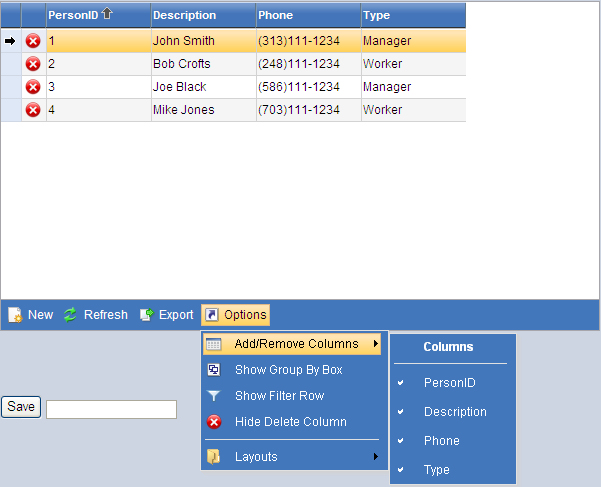
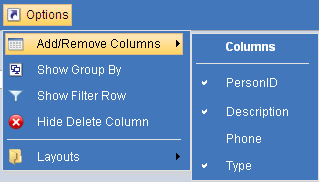
To show the column again in the grid, click the name on the drop-down. The next time you open the Add/Remove Columns drop-down, the white check mark appears next to the column name.

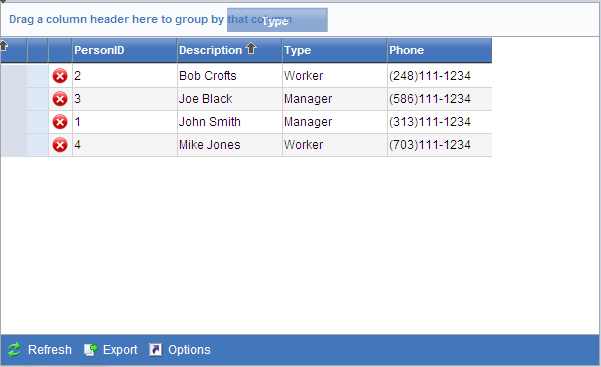
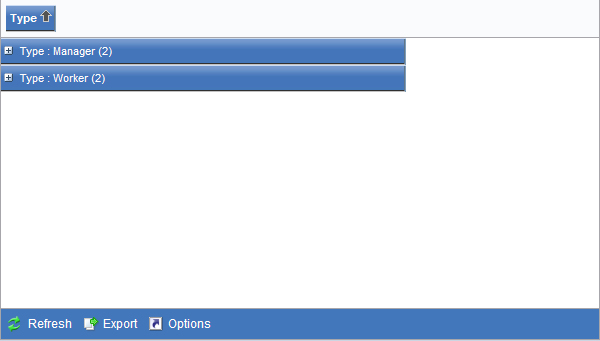
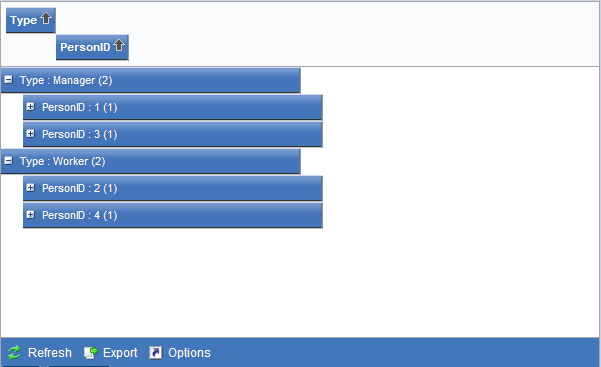
Within each sub-grid, you may continue to re-sort columns and drag and drop them into new locations.
To restore the original grid, drag and drop the column header anywhere in the sub-grids.
 ) in each cell is inserted at the top of the grid.

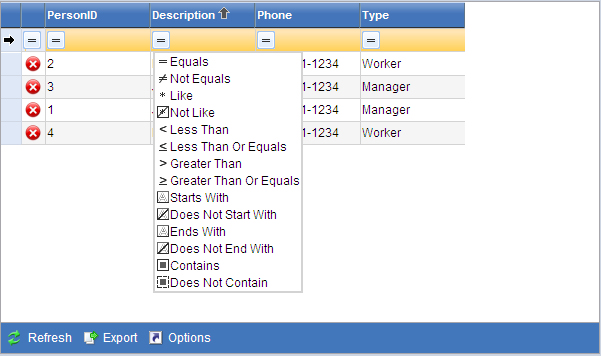
to open a drop-down menu of search criteria for the column.
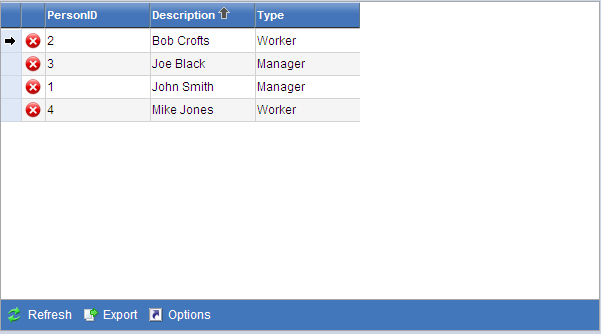
 ), move the pointer to rest on the Options button, and click the Hide Delete Column option on the drop-down menu.
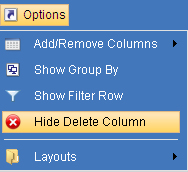
Saving and Resetting Layouts
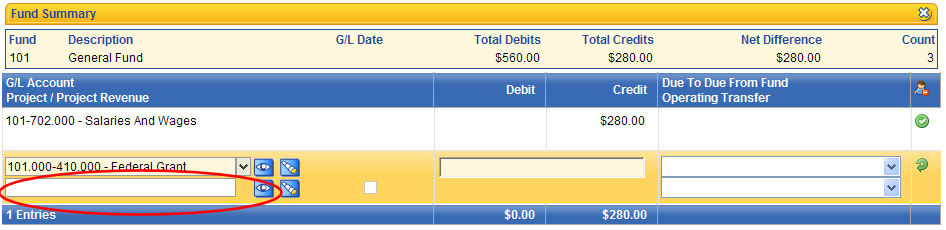
Adding a Project
 ) to find a project. Press Enter at the end of the row to save the data and move to the next row.
Selecting a Due To/Due From Fund
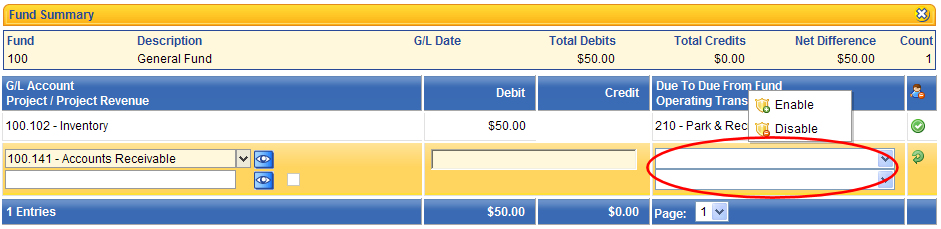
You can also disable the Due To/Due From column. It may be useful to hide this column if your organization does not require you to enter this information for the entry. It can increase the speed of your entries by being able to bypass this field. See Enabling/Disabling Columns for more information.
See Also
Home Page Overview